This post contains affiliate links. If you grab one of the printables I recommend, I may earn a small commission at no extra cost to you.
We bought too many pumpkins. My partner saw a bin of them outside the grocery store and that was that, four came home and sat on the porch steps looking at us. I was not about to carve four pumpkins on a weeknight, so we went the printable route instead.
The idea is simple. Print a wrap or a face, cut it out, attach it to a real pumpkin, done. No scooping, no smell, no candle fire hazard. What nobody warned me about was the attaching. I reached for tape, pressed a printed face onto the biggest pumpkin, and watched it peel right back off the bumpy ridged skin within a minute. Tried twice more, same sad curl. Switched to a strip of clear glue dots and it gripped the texture instantly, held all week through two cold nights on the porch.
These are the files we used and a few I have my eye on for the leftover pumpkins. Some links are affiliate links, so a grab sends a little something my way at no cost to you. Pick a pumpkin and let us go.
A Farmhouse Font for a Painted-On Look
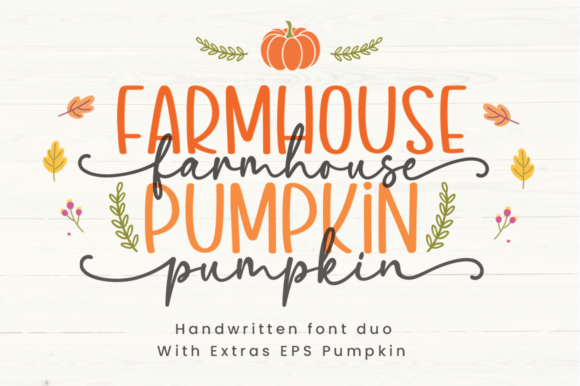
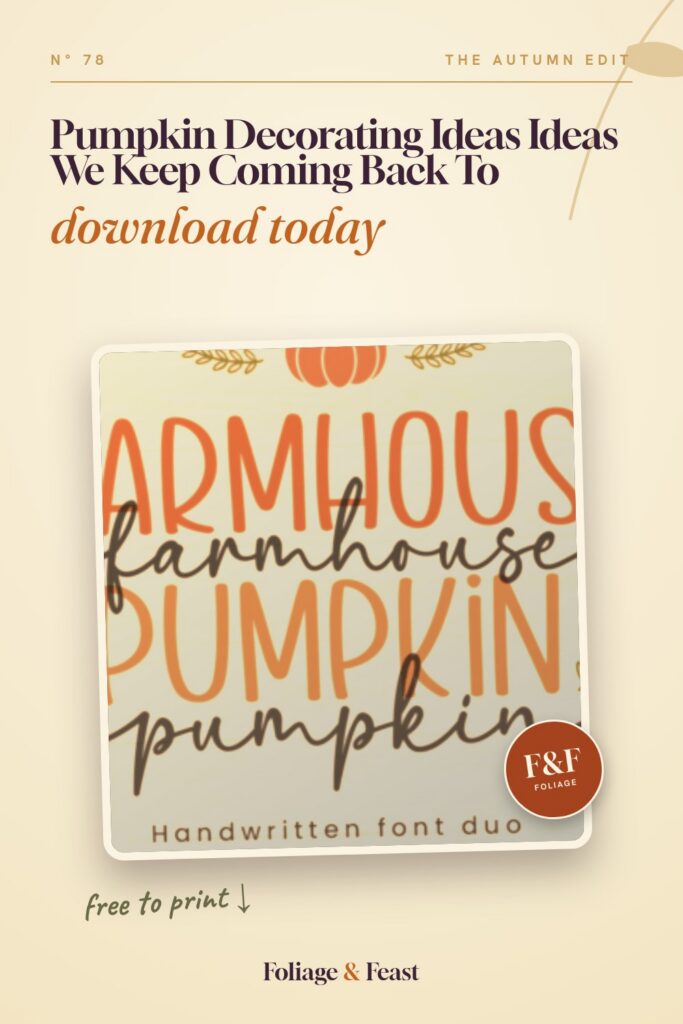
This is a font rather than a single image, which is sneakily useful for real pumpkins. I printed a short word in the farmhouse lettering, cut around it, and glue-dotted it onto a pale pumpkin so it read like hand-painted signage without me touching a brush.
My partner picked the word, kept it to one short line so it would not wrap around the curve and distort.
Nitpick: it is a typeface, so you have to set the word yourself in another program first. If you want it big enough to read across the porch, watch that the thin serifs do not pixelate when you scale the print up.
Woodland Critters for the Smallest Pumpkin
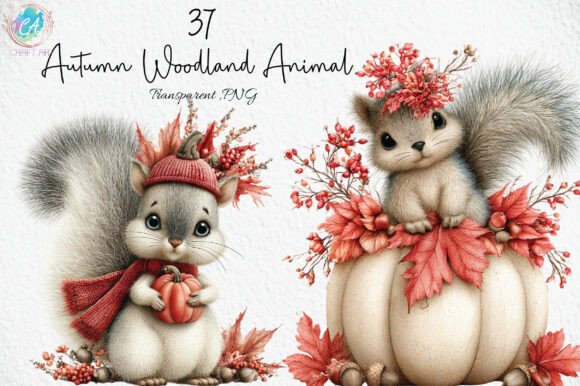
The little woodland animals here suited the runt of our four, a small pumpkin that needed a small scene. I printed a fox and a hedgehog, cut them close, and clustered them low on the pumpkin like they were trotting past.
Because they are separate critters you can scatter them across one pumpkin or spread them across several.
Nitpick: the soft watercolor edges look great but are easy to overcut. Leave a slim white margin when you trim, or the fuzzy edge frays and the animal looks like it lost its outline.
Quiet Faith for the Front-Facing Pumpkin
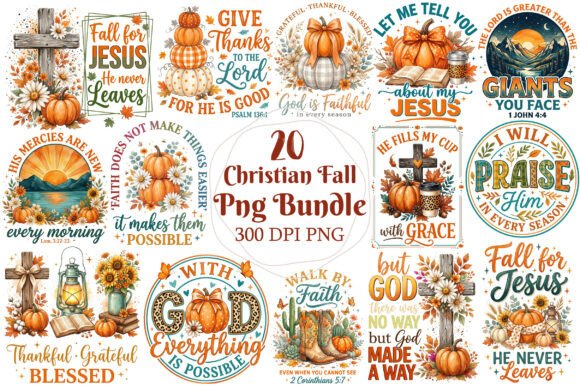
We put the faith pieces on the pumpkin that faces the front walk, since that is the one guests meet first. The bundle leans gentle, leaves and short blessings, so it felt like a greeting rather than a sermon.
I printed one blessing as a band and glue-dotted it across the widest part of the pumpkin where the curve is flattest.
Nitpick: the longer phrases want a flat surface and pumpkins do not have one. On a very round pumpkin the text bowed at the ends. I cut the band into two shorter pieces and butted them, and the eye did not catch the seam.
Vintage Labels That Turn a Pumpkin Into a Crate
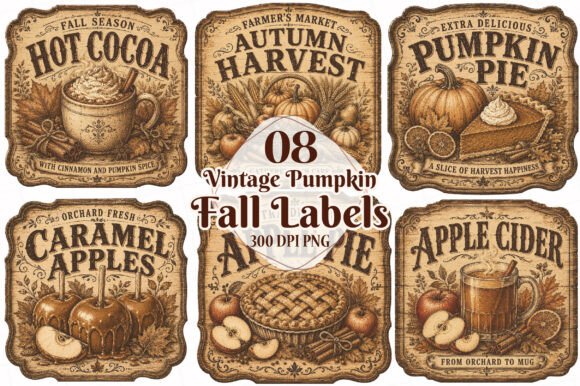
These labels were my favorite trick of the whole batch. Printed on slightly off-white paper, a vintage produce-style label glue-dotted onto a pumpkin makes it look like it rolled out of an old market crate. My partner said it looked expensive. It cost the price of a download.
They are sized like real labels, so one centered on the front of a medium pumpkin is plenty.
Nitpick: the vintage look depends on the paper. On bright copy paper the aged tones read as just dull. I switched to a warmer cream cardstock and the whole effect snapped into place.
Moons and Stars for the After-Dark Pumpkin
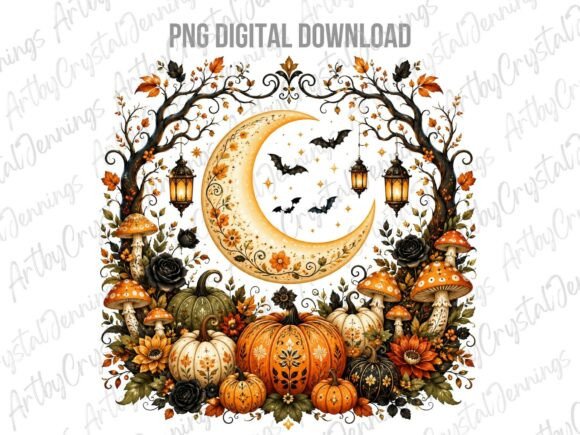
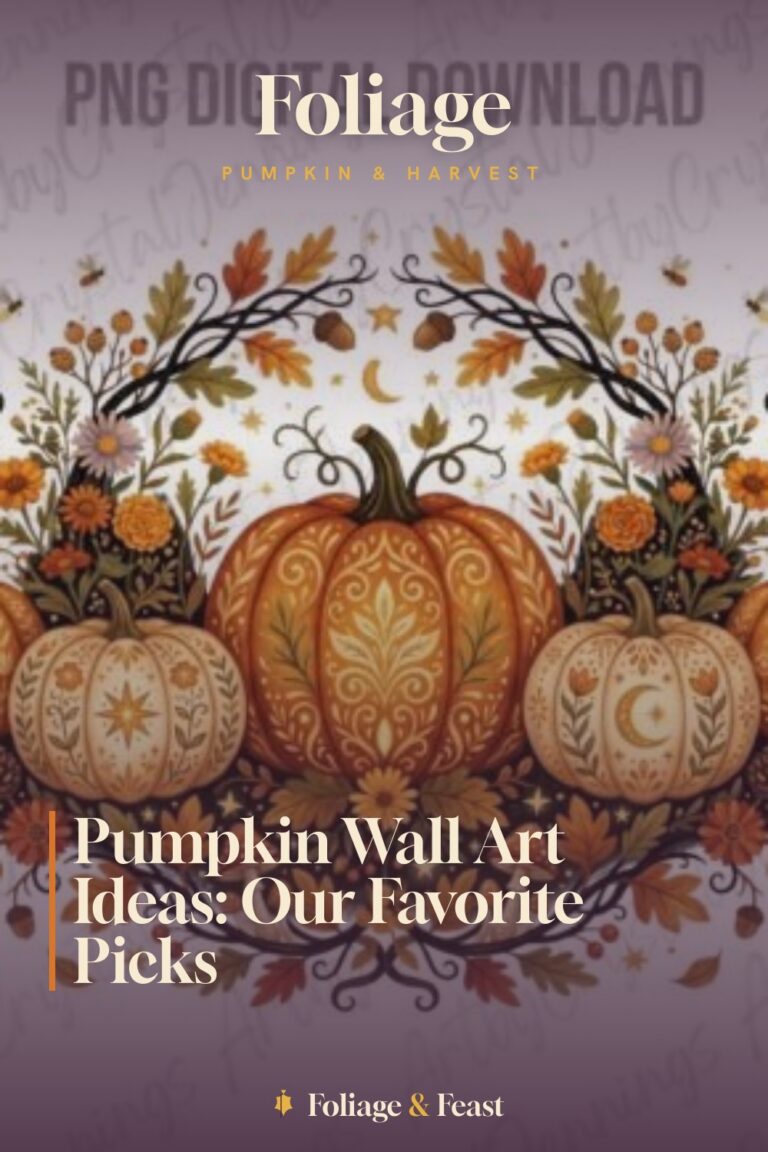
Our porch light is dim, so I wanted one pumpkin that did something in the low light. The celestial moon-and-stars art, printed in those deep ink tones, glowed under the bulb in a way the brighter designs did not.
I cut a crescent and a few stars separately and arranged them rising up one side of a dark green pumpkin.
Nitpick: dark art on a darkish pumpkin can disappear entirely once the sun drops. I ended up backing the moon on a thin sliver of cream cardstock so it had a faint halo and stayed visible at night.
The Otter That Made My Partner Laugh
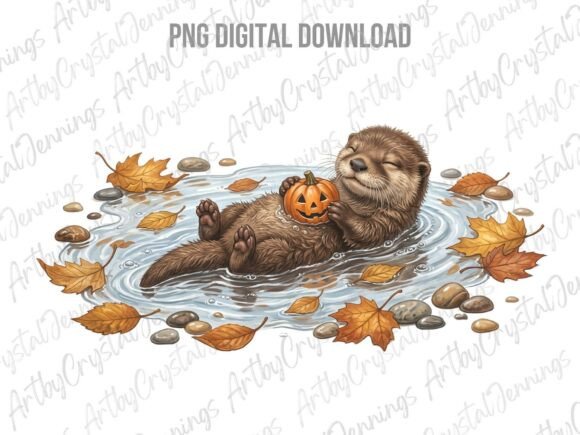
Pure whimsy, this one. An otter holding its own little pumpkin, printed and stuck onto our actual pumpkin, a pumpkin holding a pumpkin. My partner laughed out loud, which is the only review that matters.
It sits well as a single character low and to one side, leaving the top of the pumpkin bare so the stem still gets to be the stem. A good fit for the goofy pumpkin nobody else wanted.
Nitpick: the otter has fine whisker and paw detail that gets muddy if your printer is low on ink, and mine was. Run a nozzle check first, the whiskers are the whole charm and they vanish in a streaky print.
Florals for the Pumpkin That Wants to Be a Bouquet
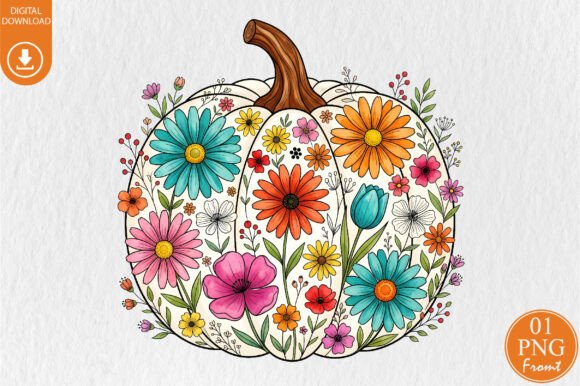
Labeled for sublimation, but I just printed it on regular paper and treated it as a cutout wrap. The florals are lush, so I let them climb up one side of a tall pumpkin like a vine rather than centering one bloom.
Glue dots held the longer petal pieces flat against the curve where tape would have tented up.
Nitpick: sublimation art is built to be vivid on a press, and on plain inkjet paper the colors came out a touch flatter than the preview. I bumped the print saturation a notch and it got most of the way back.
A Cute Bundle for Decorating Several at Once
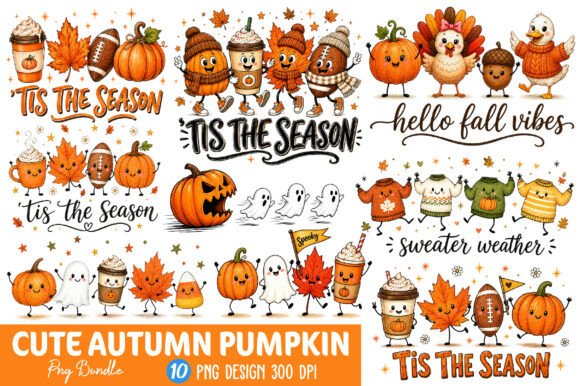
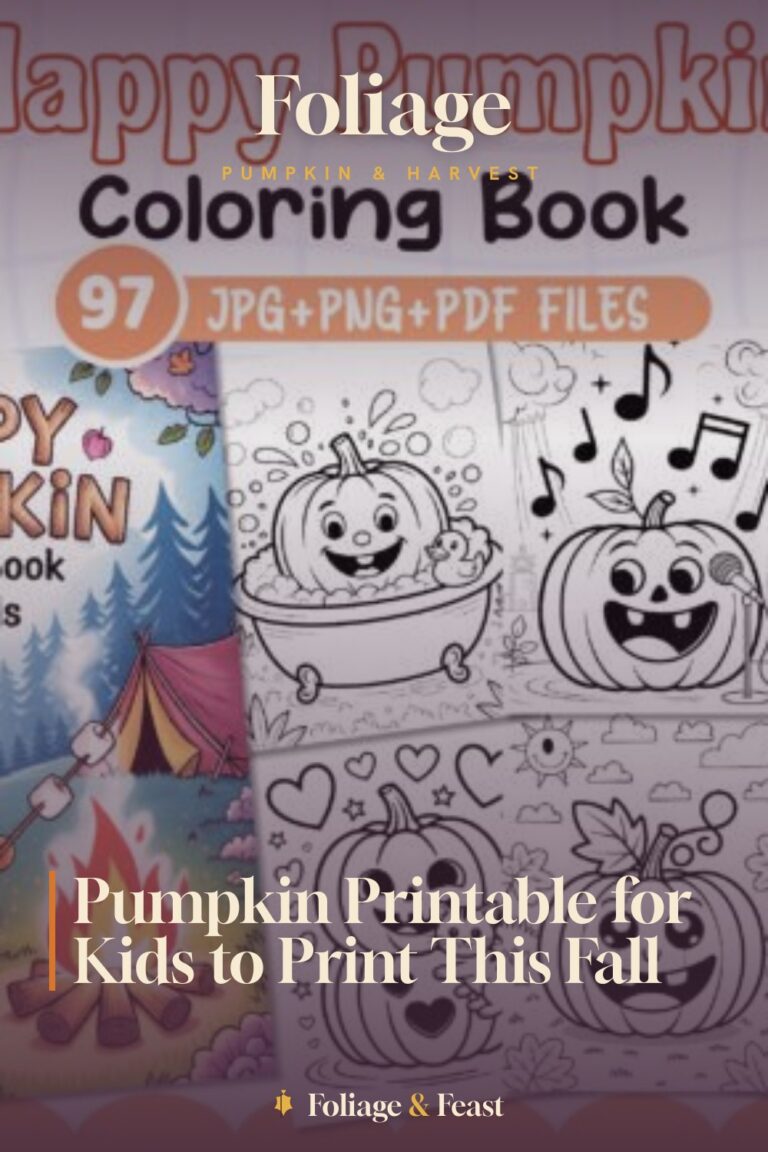
This bundle was our workhorse because it had enough variety to dress more than one pumpkin without everything matching. Cute little pumpkin characters, a few in different poses, so each pumpkin on the steps got its own personality.
I printed a sheet of them, cut them out over an evening, and we played mix-and-match across all four.
Nitpick: the cute style is small-detail heavy, dots for eyes, tiny cheeks, and at small print size those features blur together into one pink smudge. I printed these a size up so the faces stayed readable.
Folk-Art Blooms With a Painted Edge
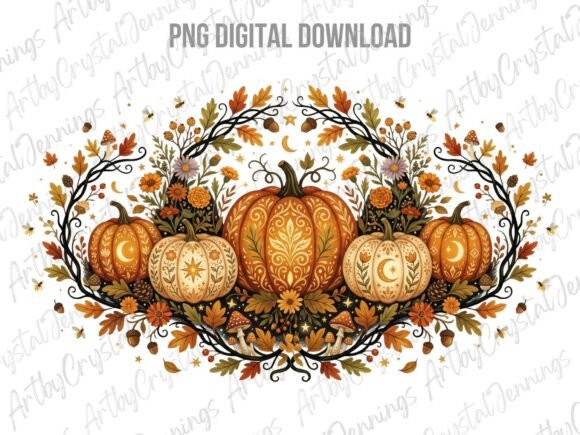
The folk-art style here has that bold-outline, flat-color look that reads beautifully from a few feet back, which is exactly the distance people see a porch pumpkin from. I printed two blooms and a leaf and glue-dotted them in a loose triangle on a creamy pumpkin.
The heavy outlines mean you can cut a little loose and it still looks intentional.
Nitpick: folk art lives or dies on crisp edges, and a slightly damp pumpkin made one piece curl at the corner overnight. I wiped the pumpkin dry first on the next one and the glue dots bit better.
The Coquette Bow Pumpkin for the Soft Corner
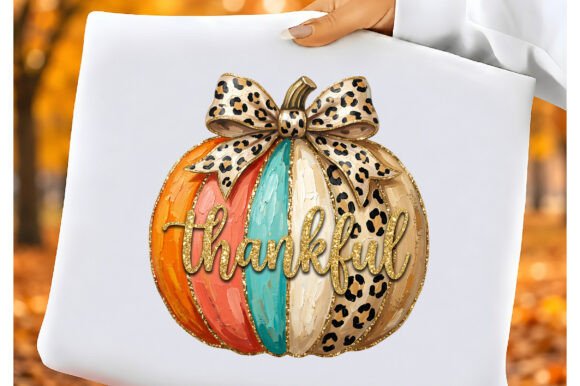
Last one, and the one my partner claimed. The coquette style, soft bows and a thankful script, went onto the prettiest pale pumpkin and immediately set the tone for that corner of the porch. Ribbony, sweet, a little extra in the best way.
The bow elements print and cut nicely as their own pieces, so you can add a paper bow even where the design did not put one.
Nitpick: the pale pink palette nearly washes out on a white pumpkin, the bow disappeared. I moved it to a deeper-toned pumpkin and the soft colors finally had something to push against.
Frequently Asked Questions
Where to find harvest festival decorations sims 4?
That one is about the game, not real pumpkins, so it lives outside what I do here. In The Sims 4 the seasonal harvest items come through the Seasons pack and the in-game seasonal events rather than anything printable.
For an actual porch, though, the printable wraps and faces below are the no-carve route I used on four real pumpkins.
Can I print these at home?
Yes, that is the whole point of this batch. Every design here I ran on a home inkjet, cut out, and stuck onto a pumpkin, no special machine in sight.
My only real tip is paper choice. A warmer cream cardstock made the vintage and folk pieces look far better than bright copy paper did.
What file formats do these designs come in?
Most of these are PNG, which prints straight from home, and one is a font you set yourself first. The product page spells out what is inside each download before you buy.
For a porch pumpkin you really only need something you can print and cut, and these all qualify.
Do I need a Cricut or Silhouette to use these?
No machine required for the pumpkin route. I printed everything and cut it out with regular scissors, then attached it with glue dots after tape flat refused to stick to the bumpy skin.
A cutter would speed up the trimming if you own one, but it is genuinely optional here.
Before You Print
Four pumpkins, zero carving, and the only casualty was a strip of tape that gave up on day one. The glue dots saved the whole project, so if you take one thing from me, it is to skip the tape and grip that bumpy skin properly from the start.
We still have one bare pumpkin on the steps. I keep eyeing the otter file for it, because a porch can always use one more pumpkin holding a pumpkin.