This post contains affiliate links. If you grab one of the printables I recommend, I may earn a small commission at no extra cost to you.
My mom is on the decorating committee at her church, and every fall she ropes me in. The job is bigger than a mantel. We are talking a wide entry with double doors, a long fellowship hall, folding tables that need a reason to look like more than folding tables. Last year she handed me a thumb drive of files and said make it look like harvest, and I learned a lot in one weekend.
The first thing I learned is that home decor sizes do not scale up to a hall. I printed a welcome banner at full letter size, taped it over the doors, and from the parking lot you could not read a word of it. So I tiled it. Pulled the same file into a free poster-splitter, blew it across nine pages, trimmed the white edges, lined them up on the floor of the hall before I committed any tape. Suddenly it read from across the lot. The seams show if you stand close. Nobody stands close at a doorway.
Everything below is something my mom and I actually printed, propped, or strung up that weekend. A couple of the links are affiliate links, so if you grab a file I might get a small cut, and it costs you nothing extra. Here is what worked on the big stuff.
A Scarecrow That Greets People at the Doors
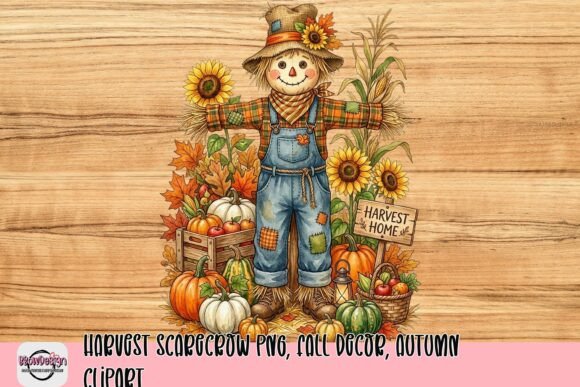
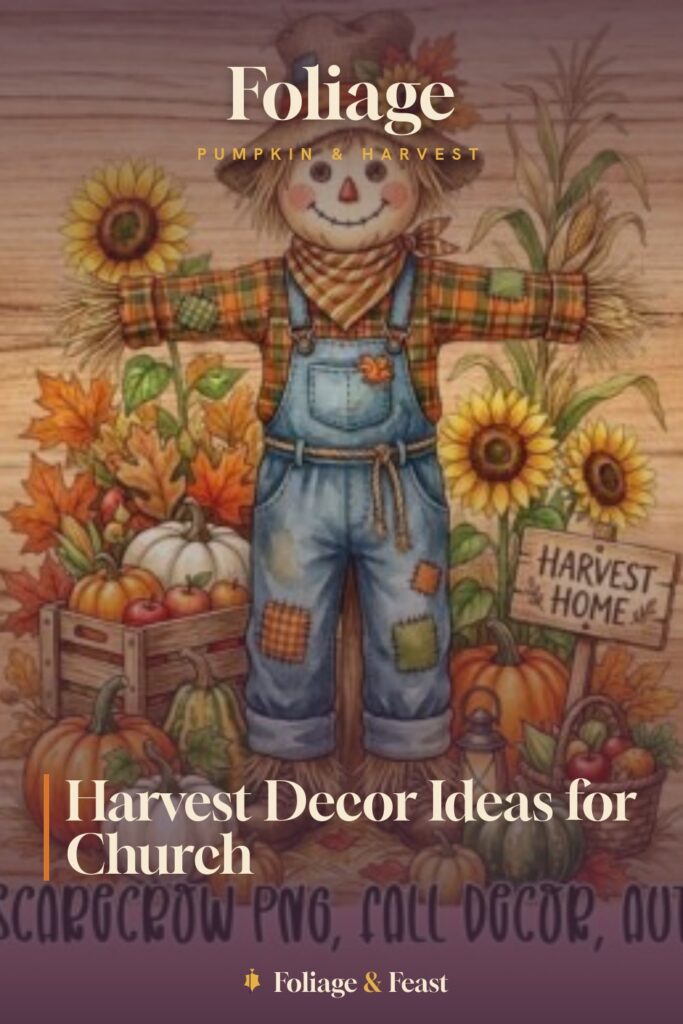
This one is a clean scarecrow with that fall-clipart look, and on a transparent background it drops onto anything. We printed him big, about 18 inches tall on matte poster paper, and mounted him to foam board with spray glue so he stood up against the door frame without curling.
The rust and ochre in the file read well from a distance, which matters in a hall where half the room is twenty feet away. My mom wanted two of them, one per door, so it looked intentional and not lopsided.
Nitpick: the straw lines are fine detail, and a tired inkjet smears them if you print fast. I bumped the print quality to high and let each sheet dry flat for a minute before stacking, or the straw turned to mush.
Filling the Long Snack Table Without Real Pumpkins
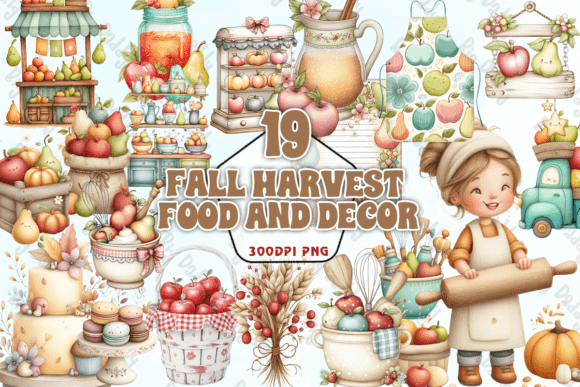
The fellowship hall always has a snack table, and real gourds get knocked over by kids reaching for cookies. This food-and-decor set gave me printed stand-ins instead. I cut a few of the pieces out, mounted them on little cardstock easels, and scattered them down the runner.
The harvest food shapes match the warm palette of the rest of the entry, so the table did not look like its own separate theme. That is the thing with a church hall, you want one mood, not six.
Nitpick: a couple of the elements are busy and lose punch when you shrink them to coaster size. I kept those at full size and tucked them at the table corners where people actually look.
A Painty Pumpkin Patch for the Bulletin Board
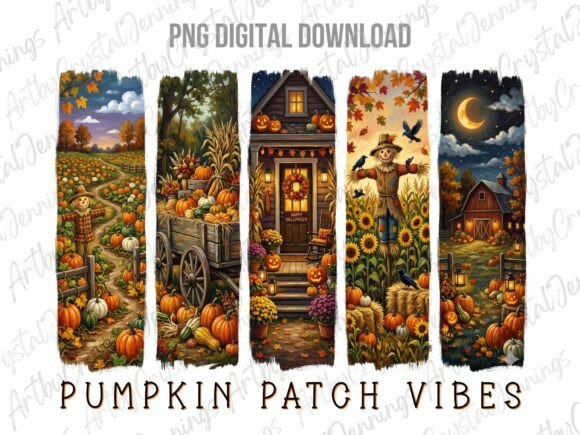
Every church has that big cork bulletin board nobody knows what to do with in October. This brushstroke pumpkin patch fixed mine. The loose painted strokes look hand-done, which softened a board that is usually all flyers and pushpins.
I printed it as one wide piece across two sheets and overlapped the seam at a pumpkin so the join hides. Pinned at the corners, no tape on the cork.
Nitpick: brushstroke art has soft edges that can look fuzzy if your printer runs low on the orange. I swapped in a fresh cartridge before this one, because a faded pumpkin patch just looks sad and damp.
Quick Signs for the Folding Tables
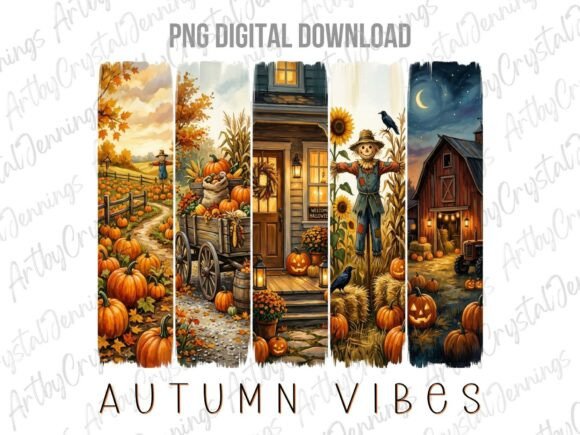
We needed little headers for the tables, one for coffee, one for the sign-up sheets, one by the donation basket. This autumn-vibes brushstroke set had enough loose painted bits that I could build a half-dozen small signs that matched each other.
I dropped the art into a document, typed the table labels under each one in a heavy serif, and printed them on 65 lb cardstock so they would stand in a tabletop frame without flopping.
Nitpick: the brushstrokes are gorgeous over white but muddy over a colored frame. I kept the backgrounds white and let the frame do the framing instead of fighting it.
The Welcome Banner I Had to Tile Bigger
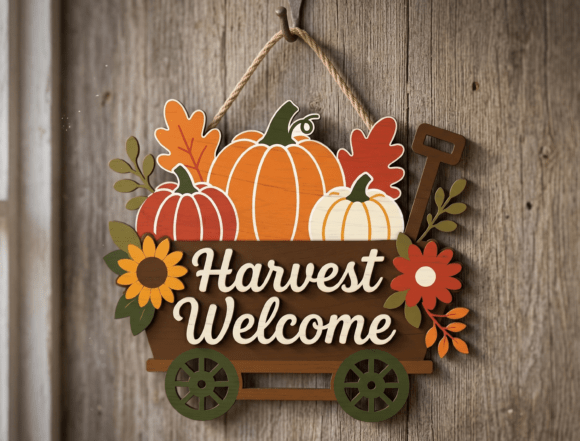
This is the file that taught me the tiling lesson. A pumpkin-wagon welcome design, the kind that wants to live over a wide doorway. At letter size it was invisible from the lot. So I split it across nine pages, trimmed the margins, and dry-fit the whole thing on the hall floor before a single piece of tape went up.
Once it was assembled it ran a good four feet wide and finally read from outside. The wagon and the lettering carry the whole entry. My mom took a photo for the committee group chat and got, I am told, many heart reactions.
Nitpick: nine pages means eight seams, and they show under hallway fluorescents if you mount it flush. I floated it a half inch off the glass on foam tape so a little shadow hides the joins.
A Little Mouse for the Kids’ Corner
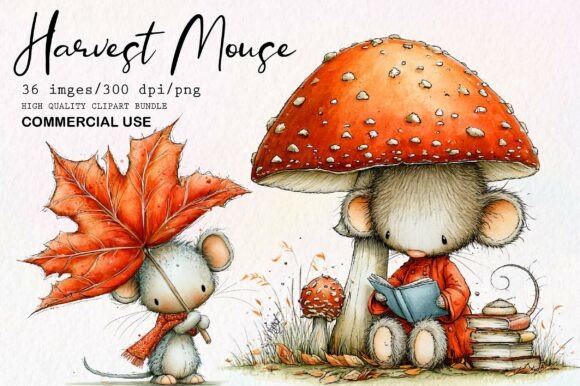
The hall has a kids’ corner with a low table, and the big harvest stuff sailed right over their heads. This cute harvest mouse came down to their level. I printed a few at hand size, laminated them, and propped them along the low shelf where little fingers could touch without wrecking anything.
The mouse is sweet without being babyish, so it did not clash with the grown-up entry ten feet away. One palette, two heights.
Nitpick: the clipart is light on outline, so a thin pour of lamination film made the edges nearly vanish against a white shelf. I backed each one on a scrap of rust cardstock first to give it a border.
A Farmhouse Bunny for the Nursery Window
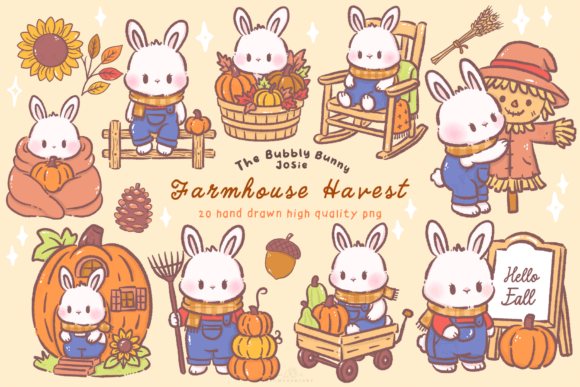
The church nursery has a window onto the hall, and the committee likes it dressed up too. This kawaii farmhouse bunny was the right amount of soft. I printed a couple and taped them inside the glass facing out, so passing folks got a little wave.
The farmhouse styling kept it from feeling like an Easter leftover. It read autumn because of the harvest props around the bunny, not because I forced it.
Nitpick: taping art inside a window means the back shows from the hall side, and printer paper looks gray from behind. I printed two copies and taped them back to back so both sides looked finished.
A Harvest Moon Above the Coffee Station
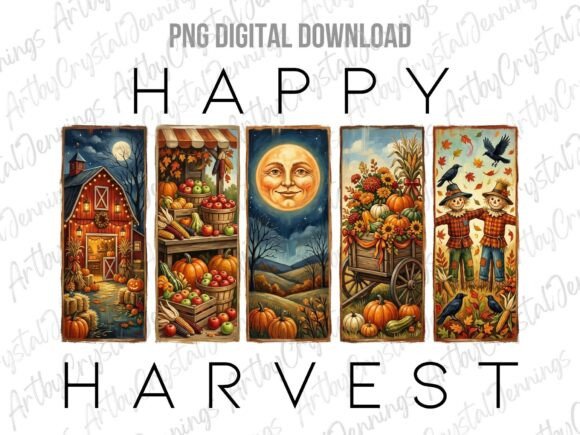
There is a blank stretch of wall above the coffee urns, high up, and a big simple shape works best up there. This harvest moon brushstroke was exactly simple enough. I printed it large, single bold image, and stuck it where people look while the coffee pours.
The painted moon glows in that warm ochre tone, and from below it reads instantly even though the wall is tall. No fine print to lose at a distance.
Nitpick: a big flat shape shows every print band if your inkjet streaks. I ran a nozzle clean first and printed on the slow setting, because banding across a moon is the kind of thing only I notice and then cannot unsee.
Matching Accents So the Hall Looks Planned
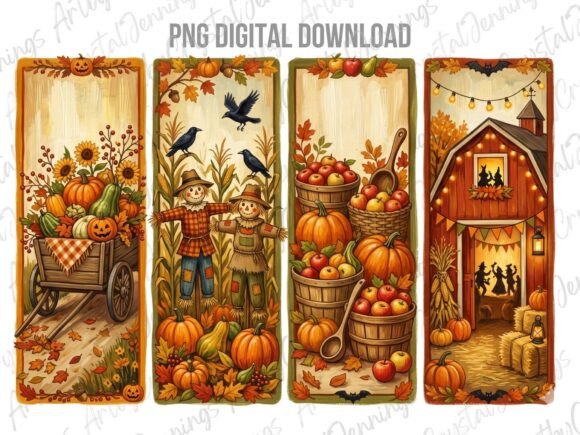
Once the big pieces were up, the hall had gaps that looked accidental. This general fall-harvest brushstroke set was my filler. Leaves, sprigs, painted bits I could print small and tuck wherever a corner felt bare.
Because it shares the brushstroke style with the pumpkin patch and the moon, the whole entry finally looked like one person planned it. That was the goal my mom kept repeating. One person. Not a committee.
Nitpick: filler is easy to overdo, and I printed twice as much as I used. The unused sheets went in a folder for next year, so at least the ink was not wasted.
A Softer Scarecrow for the Welcome Desk
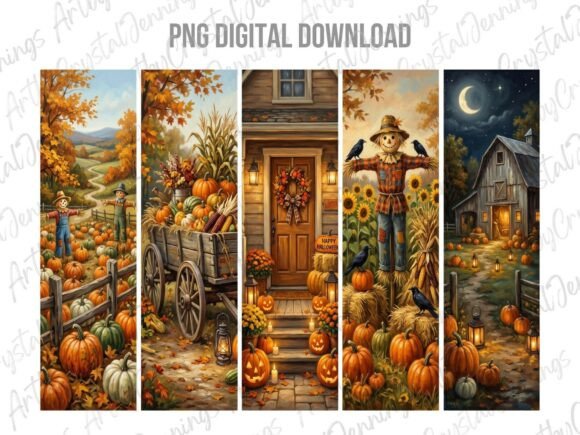
The clipart scarecrow at the doors was bold and graphic. The welcome desk inside wanted something gentler, so I used this brushstroke scarecrow instead. Same character, painterly version, sized down to sit in a 5×7 frame by the visitor sign-in.
The two scarecrows talking to each other across the entry, one big and one small, tied the room together better than I expected. People notice that kind of echo without knowing why.
Nitpick: the painted edges go transparent at the bottom, so in a frame with a white mat the scarecrow looked like it was floating. I printed it on a warm cream stock instead of bright white, and the float disappeared.
Frequently Asked Questions
Where to find harvest festival decorations sims 4?
That is a different harvest altogether. Sims 4 decorations come from the game’s build mode and seasonal packs, not from a printer, so you will not find those here.
What I make is real paper you tape to a real wall. If you came looking for a virtual pumpkin patch, this is the analog version, and it does smell faintly of toner.
Can I print these at home?
Yes, and most of these I printed on a years-old inkjet in my mom’s spare room. For anything going over a doorway, I split it across several sheets with a free poster-splitter and taped the pages together.
If you want the big banner crisp without seams, the church office laser printer or a copy shop will do tabloid size. For the small stuff, home cardstock is plenty.
What file formats do these designs come in?
Most of these came as PNG with a transparent background, which is why I could drop a scarecrow onto any color and not fight a white box around it.
The welcome wagon is a cut-ready format, so it works both for printing flat and for a cutting machine if you go that route. Check the product page for what each one includes before you buy.
Do I need a Cricut or Silhouette to use these?
No. Every piece in this list, I printed flat on paper and put up with tape, glue, or pushpins. No machine touched any of it.
A cutting machine helps only if you want the welcome wagon cut cleanly from cardstock for a layered sign. For a hall full of printed harvest decor, a printer and a pair of scissors got the whole job done.
Before You Print
We finished the hall late on a Saturday, my mom standing at the doors squinting to check the banner read from the lot one more time. It did. The committee chat lit up the next morning before the first service.
If you are dressing a big church space this fall, start with the one piece people see from far off and get it large enough, even if that means taping nine pages into one banner on the floor. Everything smaller falls into place around it.