This post contains affiliate links. If you grab one of the printables I recommend, I may earn a small commission at no extra cost to you.
The summer stuff came down last Saturday. Shells off the shelf over the fireplace, the striped runner folded away, and suddenly that shelf looked like nobody lived here. Bare wood. One candle with cinnamon in the name, burned halfway down from last November, standing there like it knew something.
So I went up to the attic and brought down the frame box. Six thrifted frames, one with a crack in the corner glass I keep meaning to deal with. Here is my whole system, and it is barely a system: the frames stay the same all year, the paper inside them changes. I print new art in September, slide it behind the glass, done. No new bins of decor. No shipping. My partner did not even notice the swap until the third day, which honestly is the goal.
Every file below is a printable from an indie design shop, the kind you download once and print forever. Some of the links are affiliate links, meaning I get a small cut if you grab one, at no cost to you. The candle you have to dig out of your own cabinet.
A Stone Doorway for the Shelf Over the Fireplace
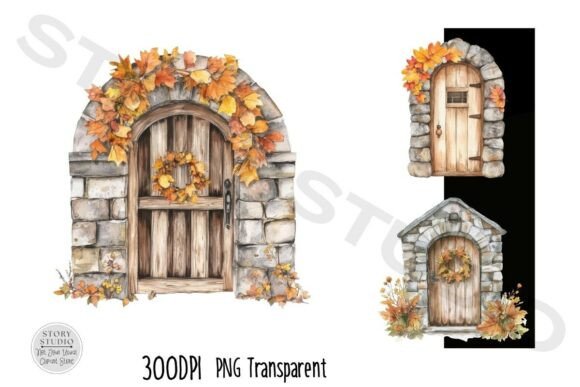
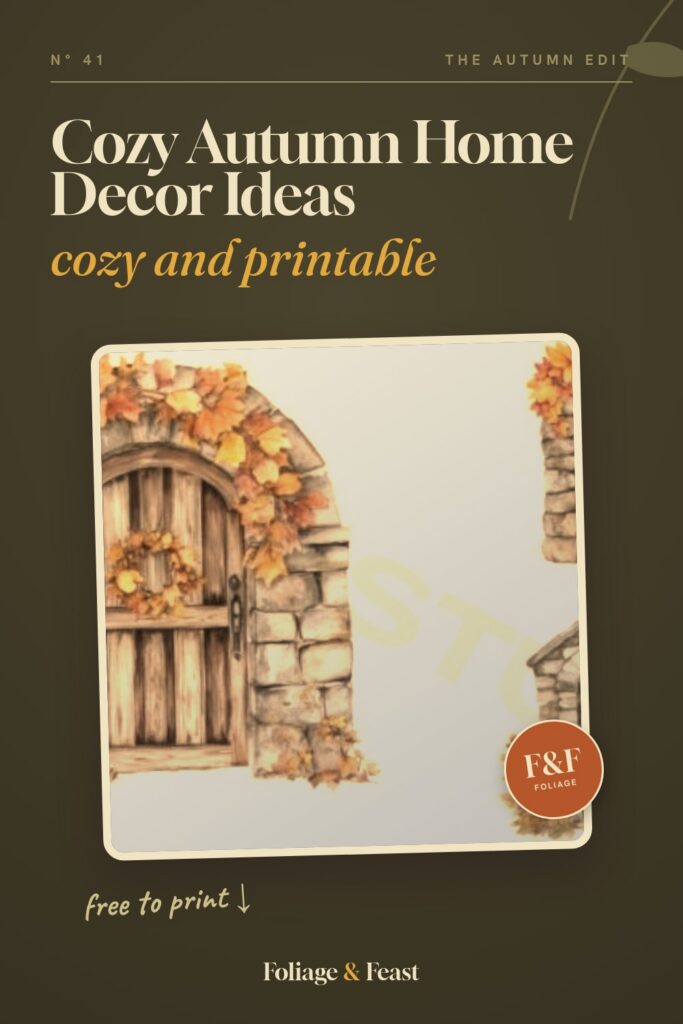
This pack is a set of stone cottage doors with pumpkins and vines around them, and the first one I printed went straight into the 8×10 frame in the middle of the mantel shelf. There is something about a painted doorway at eye level. People lean in. My mom leaned in and asked where I bought the print, and I said the internet, and she said I mean the shop, and I let it go.
One nitpick: those stone textures are dark, and dark art drinks ink. I printed two doors back to back and my ochre-heavy inkjet cartridge dropped a full bar. Pick your favorite door first, print that one, live with it a week before you commit to the rest of the pack.
The Sublimation Bundle I Use Completely Wrong

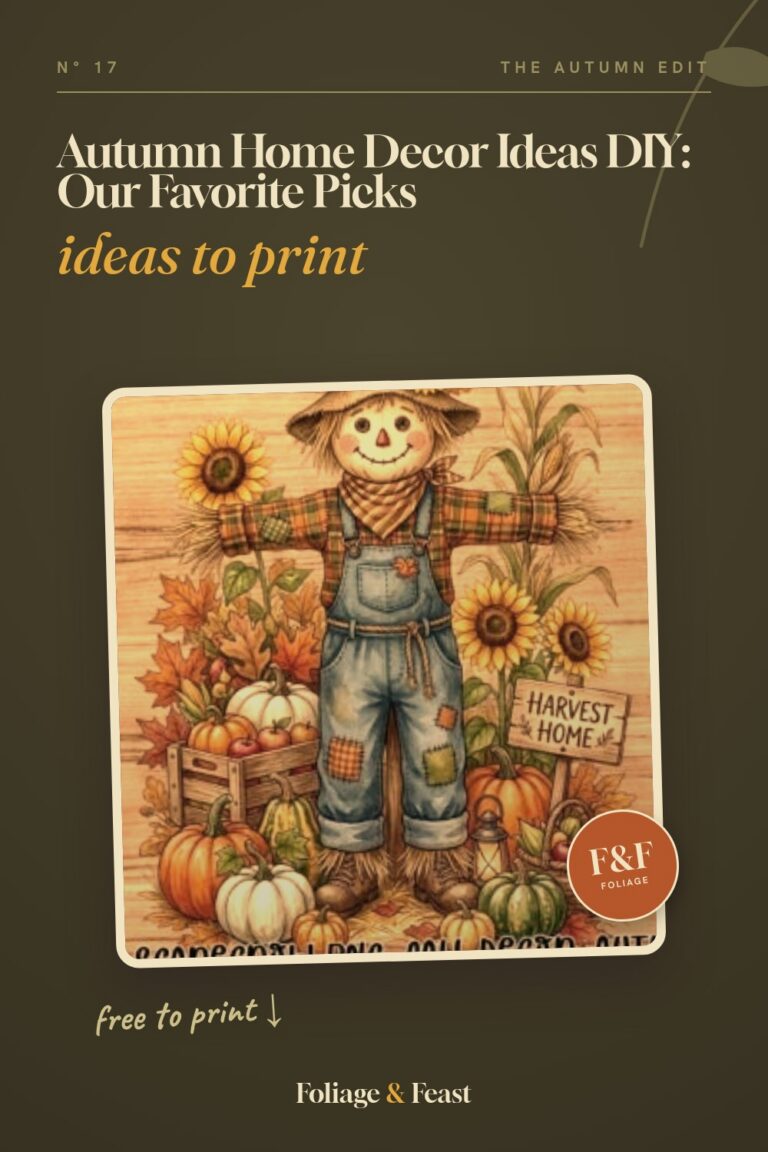
Sublimation files are meant for mugs and shirts. I do not own a sublimation printer. I still bought this bundle, because the designs are painted autumn scenes with lettering already built in, which means they work as instant wall art. Regular inkjet, 65 lb cardstock, into a frame. Nobody checks your method at the door.
The files are huge, which is great for quality and terrible for my laptop, which wheezed opening the folder like it had climbed the attic stairs with me. Also the designs come sized for products, not for frames, so I cropped mine to 5×7 in a free photo editor before printing. Ten minutes. Worth it.
Round Two: Same Idea, Different Paper
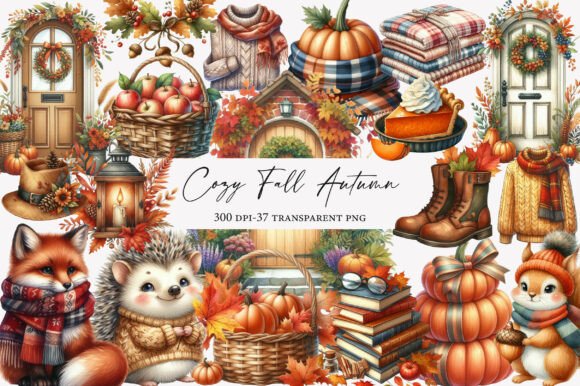
Yes, a second sublimation bundle, from the same corner of the shop, different art inside. This one I mined for the smaller motifs, the leaves and mugs and single pumpkins, and printed a row of them as little 4×6 cards. They lean along the back edge of the shelf over the fireplace like a paper parade, ending at the half-burned cinnamon candle. Cost me maybe forty cents of ink.
Nitpick, and it applies to both bundles: a few designs run right off the edge of the canvas, so if you print them full frame you lose a leaf tip or half a letter. I trim with a paper cutter and pretend it was a design choice. So far no one has called me on it.
The Kawaii Set My Sister Tried to Steal

Round-faced little hedgehogs in scarves, smiling pumpkins, tiny mushrooms with rosy cheeks. This is not the art for a serious dining room wall and it does not pretend to be. I printed four of the smallest ones, cut them into squares, and propped them on the bookshelf in the bedroom where only we see them. My sister visited, picked one up, and put it in her bag. I made her give it back. I printed her a set later. Mostly later.
Heads up on color: the pastel oranges in this set lean pink on my inkjet, which is a printer problem, not a file problem, but you should know before you print all of them at once. One test square first. Learn from me.
Transparent PNGs, or How I Fake a Gallery Wall

This clipart pack comes with transparent backgrounds, which is the quiet superpower of the whole format. I layered a sweater-weather scene and two leaf sprigs over a plain cream background in a free editor, printed it, and got a piece that looks composed on purpose. Fifteen minutes from download to frame. The cracked-glass frame got this one, crack hidden in the bottom corner behind a leaf.
My one gripe: at 5×7 everything is crisp, but when I pushed a single motif up to 8×10 the edges went slightly soft. Fine from across the room. Noticeable with your nose in it. Keep this set for small and medium prints and it behaves.
A Cottage for the Dark End of the Hallway
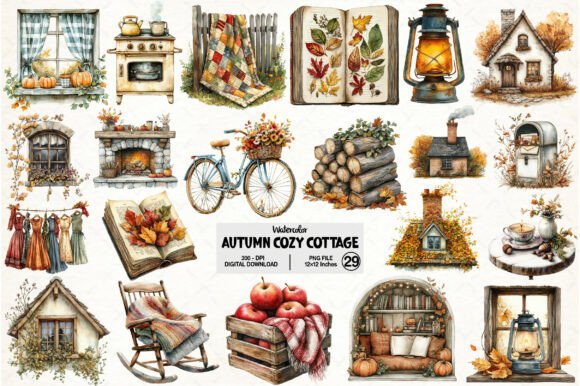
There is a spot in our hallway that no lamp has ever fixed. This cottage scene fixed it. A little stone house, amber windows, trees going rust and gold, and when I hung it in a white frame the whole corner stopped looking like a place where coats go to die. It reads like a book illustration, which is exactly the mood I want by October.
What I wanted more of: the cottage itself. The pack gives you a handful of scenes and elements, and I would have happily taken twice as many angles of that house. What is there prints beautifully on matte cardstock, no banding, and the amber windows did not eat ink the way I feared.
The Junk Journal Kit That Became Mantel Garland
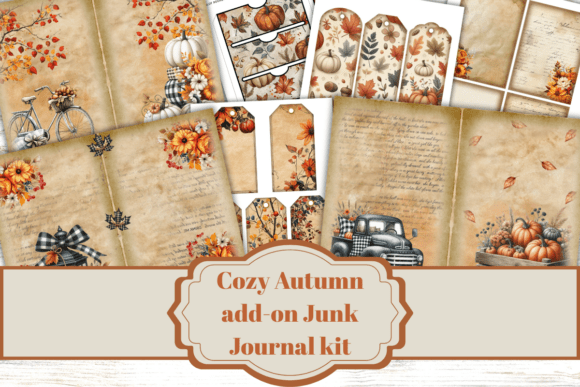
I do not keep a junk journal. I bought this kit anyway, because the pages are the point: tea-stained backgrounds, tags, tickets, little ephemera pieces that look pulled from an old drawer. I printed the tag sheet, tore the edges instead of cutting them, ran twine through the holes, and strung it along the front lip of the shelf over the fireplace. Instant garland, zero shipping, and it does not shed like the eucalyptus one from two years ago did.
Fair warning: mini means mini. The individual pieces are small and cutting them out is fiddly work, the kind you do at the dining table with a podcast on. Torn edges saved me an hour and look better anyway. That is my story.
Whimsical Girls in Sweaters, Framed in the Bedroom

Illustrated girls with mugs and books and enormous sweaters, painted soft, a lot of rust and sage in the palette. I printed one holding a stack of books and set it on the bedroom dresser, and it is the first thing I see when I get dressed, which is a small thing that turns out not to be small in November. My partner calls her the roommate.
The nitpick: the range of girls is not huge, so if you want a whole wall of them you will run through the set fast. For one or two framed prints it is plenty. Rust tones printed true on my inkjet, no pink drift, which after the kawaii set felt like a personal apology from the printer.
Coffee Weather, Leaning Against the Candle

A maple leaf with coffee-weather lettering, one file, no bundle, no decisions. Sometimes that is what you want. I printed it at 4×6, did not even frame it, just leaned it against the cinnamon candle on the shelf over the fireplace. The half-burned wax and the paper leaf look like they planned it. Total effort: four minutes, most of which was the printer warming up.
One thing to know: the lettering has thin strokes, and on regular copy paper they nearly vanish. On 110 lb cardstock they hold. This is the file I would hand someone who has never printed decor in their life, because it cannot really go wrong, except on flimsy paper. So do not use flimsy paper.
The Shirt File I Framed Instead

This one is designed for a t-shirt. I have no plans to make the shirt. The lettering is chunky and the layout is already balanced, which makes it a ready-made sign the designer does not know they made. I printed it on cream cardstock, dropped it in the last empty frame from the attic box, and it took the spot by the bedroom light switch where a sad clearance canvas used to hang.
Because it is shirt-sized, the canvas is enormous and mostly empty space, so crop before you print or your art comes out the size of a postage stamp in a sea of nothing. I learned that on attempt one. Attempt two went in the frame. We do not display attempt one.
Frequently Asked Questions
Is farmhouse decor going out of style?
People have been announcing the death of farmhouse for about six years now and my mom’s house has not received the memo. Styles cycle. The signs get sold at yard sales, the wood tones stay.
The honest answer: if you love it, keep it, and this is exactly where printables earn their keep. When you decorate with paper in frames, pivoting from farmhouse to something moodier costs you one afternoon and some cardstock, not a car trunk full of returns. My frames have survived three style phases. The frames do not care.
Can I print these at home?
Yes, and I do, on an inkjet that predates most of my houseplants. The real upgrade is not the printer, it is the paper: 65 lb cardstock minimum for anything going in a frame, 110 lb for anything standing on its own. Copy paper wilts and you will see it wilt.
For anything bigger than 8×10, I send the file to the library printer or a print shop. Costs a couple dollars and the color comes out richer than my inkjet manages on its best day. Dark, ink-heavy designs like the stone doors are also good candidates for outsourcing.
What file formats do these designs come in?
Mostly PNG, often with transparent backgrounds, which is what lets you layer motifs into your own compositions. Some listings also include JPG. The sublimation bundles come as large high-resolution PNGs sized for products, so expect to crop them for frames.
Check the listing before you buy if you have a specific plan, but for print-and-frame decor, a PNG at 300 dpi is all you need, and that is the standard here.
Do I need a Cricut or Silhouette to use these?
No. Everything in this list went on my walls with a printer, scissors, and a paper cutter I got for less than the cost of a pizza. Clipart and sublimation PNGs are print files, not cut files, so a cutting machine is not part of the deal.
Where a Cricut would help is if you wanted to turn the motifs into vinyl or cut intricate shapes cleanly, like the fiddly junk journal pieces. Helpful, not required. I tore mine on purpose and called it rustic.
Before You Print
The whole refresh, start to finish: one attic trip, one box of frames, about a dollar fifty in ink, and the cinnamon candle I refused to replace on principle. The shelf over the fireplace went from bare wood to done before my second coffee. The hallway cottage went up after lunch, once I found the hammer, which took longer than the printing did.
Start with one frame. Whichever one is closest to where you drink your coffee. Print one file, swap it in, and see if anyone in your house notices. Mine took three days. The candle noticed immediately, or at least it finally got lit.