This post contains affiliate links. If you grab one of the printables I recommend, I may earn a small commission at no extra cost to you.
My sister handed me her two kids and a vinyl roll and said make them something fall, and that was my whole Saturday. We cleared her kitchen table, set the little press at one end, and let the four-year-old pick colors that did not match anything. He wanted orange. Loud orange. So orange it is.
Here is what I learned at that table. The design is half the job. The press is the other half, and the press is where I got humbled. My first shirt looked perfect coming off the heat, then the iron-on lifted at one corner by bedtime because I rushed the temperature. I re-pressed it hotter with a sheet of parchment laid over the top, leaned in for the full count, and it held through three washes and a juice spill. So the files below are sorted by what survived a kid, not just what looked cute in the thumbnail.
A couple of these are affiliate links, which means if you grab one I get a tiny cut and you pay the same. Quick note before we start: I bought all of these from an indie design shop, not a big-box site, so the prices stay small and the formats come ready for a cutter. Roll your sleeves up.
The Boho Faith Bundle My Niece Claimed First
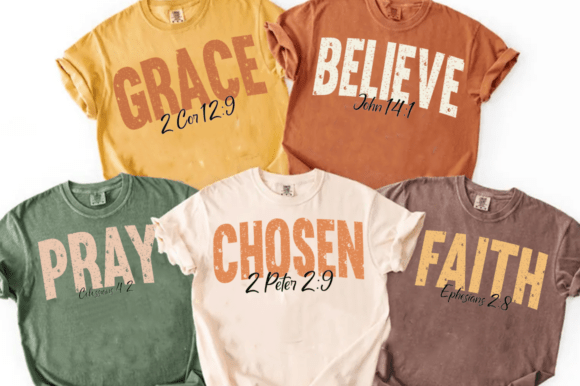
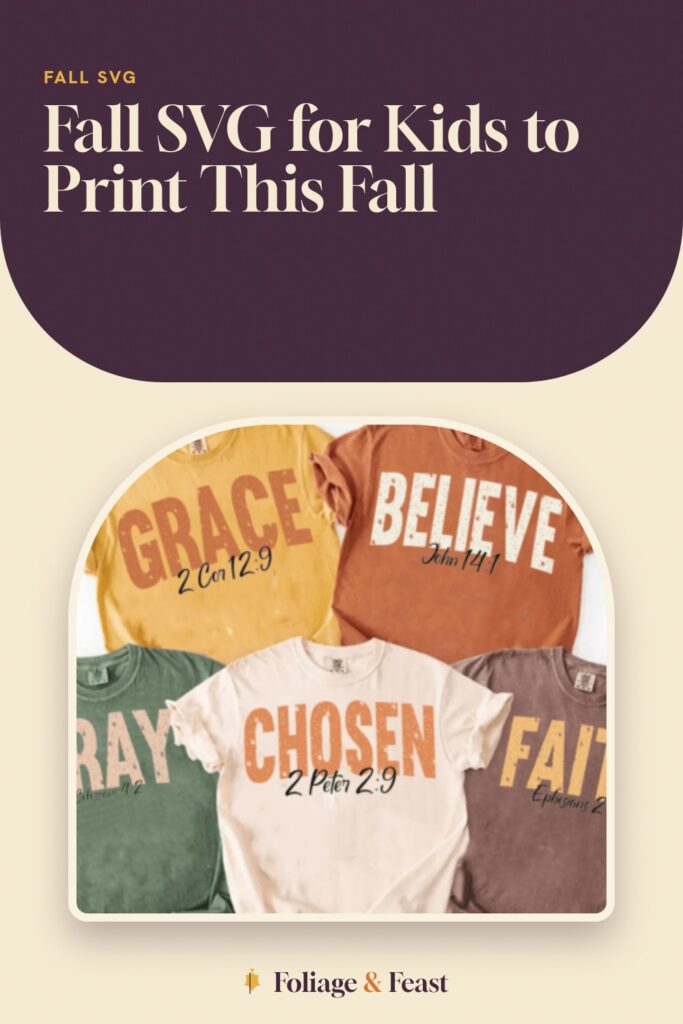
My niece is six and decided this one was hers the second she saw the muted leaves. The bundle leans soft, ochre and a dusty sage, with little scripture lines tucked between the foliage. I cut the simplest leaf-and-word combo for her tee and saved the busier ones for a tote.
The weeding is where boho bundles get you. All those thin stems mean tiny scraps, and I lost one leaf to a wonky weed and had to recut. Set your blade pressure a notch up before you commit the whole sheet.
One nitpick: a few of the script words sit close together, so if you size the shirt design small the letters can bridge. I scaled hers to about six inches wide and the gaps opened back up.
Hand-Drawn Bookish Set For The Kid Who Reads Under The Table
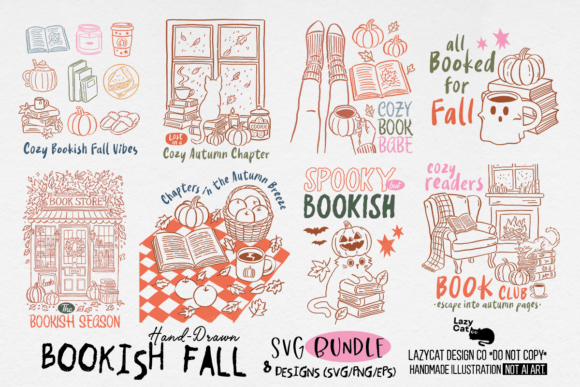
The older one, eight, is always reading at family dinners, so this hand-drawn set was an easy yes. Stacked books, a mug, a few leaves doodled like someone sketched them in a margin. It feels less like clip art and more like a page from a notebook, which is exactly why it works on a tote.
I did the bookstack on a canvas library bag in a deep rust and it reads from across the room. The PNG version saved me when I wanted the sketchy texture without cutting every line.
Nitpick: the hand-drawn lines are thin by design, so on a cutter you have to bump the blade and slow it down or the corners tear. On a heavier tote that is fine. On a thin kid tee I would press the PNG instead.
Round Sign Files I Bent Into Shirt Pockets
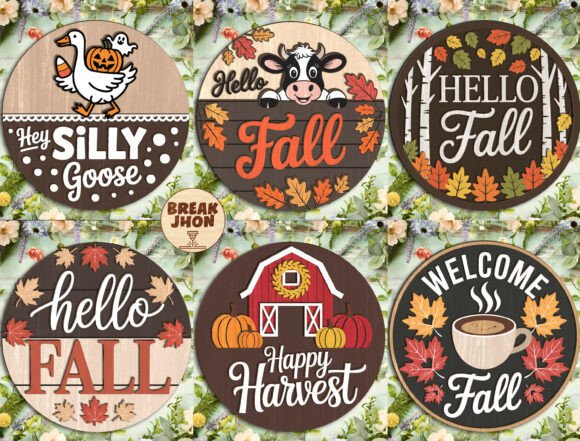
These are built as round signs, but I am stubborn and I shrunk a couple down for a left-chest shirt placement and it looked intentional. The circular layouts frame a short word nicely, so the kids got a tidy little badge instead of a sprawling graphic.
I pressed one in a single color cream onto a heather brown shirt for my nephew and it had that little-league-patch energy he loved. Took two minutes once the file was sized.
One gripe: a bundle this size has a few designs with very fine inner detail meant for a big sign, and those do not survive shrinking to four inches. Pick the chunky ones for shirts and leave the delicate ones for actual signage.
Split Monograms So Each Kid Got Their Own Initial
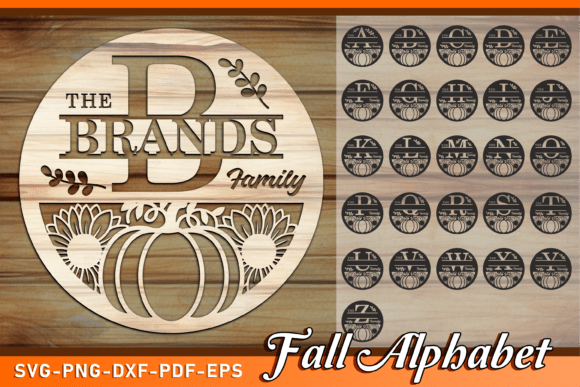
This solved my biggest problem, which was two kids who do not want the same thing ever. Split pumpkin monograms meant I dropped one letter into the gap for each of them and suddenly the shirts were personal and the fight was over.
I cut a J and an M in a warm pumpkin vinyl and pressed each onto a plain long-sleeve. The split shape leaves a clean window for the letter, so it looks designed, not slapped on.
Nitpick: you supply your own font for the letter, and the monogram window is a specific width, so a fat font crowds it. I used a simple serif at a medium weight and it sat in the gap with room to breathe.
Door Sign Bundle That Became A Matching Tote
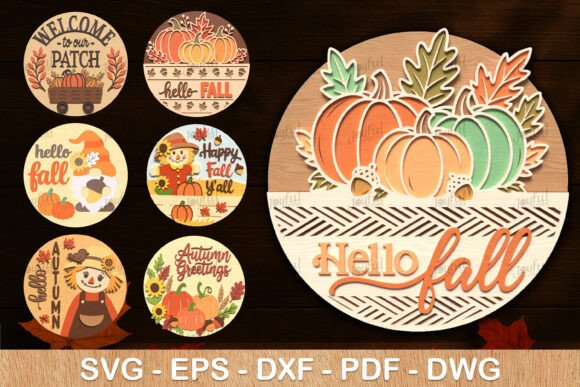
Another round set sold for the front door, but the wreath-style border framed perfectly on the flat face of a canvas tote, so that is where it went. My sister wanted a bag for hauling the kids’ library books, and this gave it a finished, store-bought look.
I cut the border in a single sage and the center word in rust, layered them, and pressed in two passes. The two-color layering is the only fiddly part, and a registration line on the mat keeps it straight.
One nitpick: these assume a big round blank, so the text is sized generously. On a tote you will want to scale the whole thing down together, not just the word, or the border swallows the bag.
Hello Fall, Cut Small For A First-Grader’s Shirt
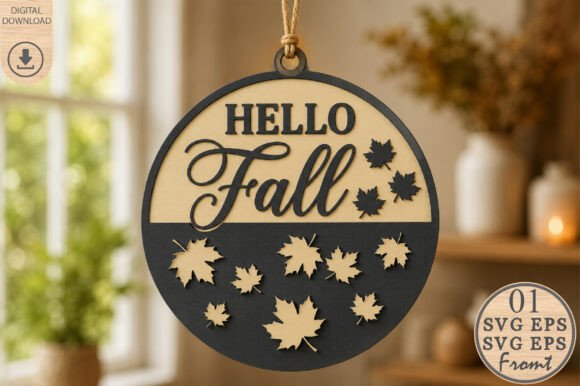
Built as a laser file, but the lettering is clean enough that my home cutter handled it without drama once I sized it down for a kid shirt. Plain greeting, friendly font, the kind of thing a six-year-old can read and feel proud wearing.
I did it in one color, a muted amber, on a cream tee for my niece. Single-layer, no weeding nightmare, pressed in under a minute. This is the one I would hand a beginner.
Nitpick: because it is drawn for a laser, a couple of the letter connections are hairline thin. On vinyl those skinny bridges can lift, which is exactly the corner that peeled on me before I re-pressed hotter with parchment. Bump the heat and you are fine.
A Faith Bundle With A PNG Escape Hatch
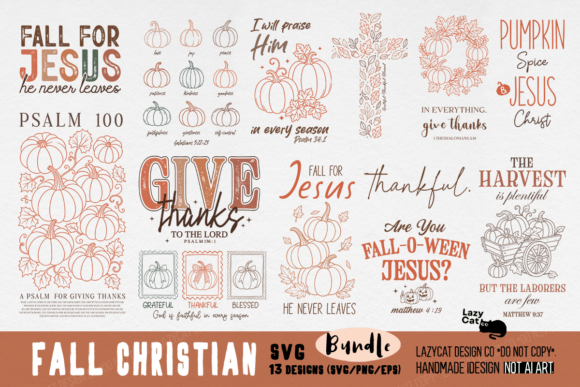
My sister wanted one shirt with a gentle scripture line for church on the cooler Sundays, and this bundle had a few that fit a kid without feeling heavy. Leaves, a cross, short verses. The PNG copies meant I could press the watercolor-look ones without trying to cut every gradient.
I sublimated nothing fancy here, just pressed the PNG onto a light tee for the eight-year-old and it came out soft and worn-in looking, which she prefers.
Nitpick: the cut versions and the PNG versions are not perfectly matched in proportion, so do not assume the SVG you sized will line up if you swap to the PNG later. Pick your method first, then size.
Cross And Leaves For The Tote That Goes To Sunday School
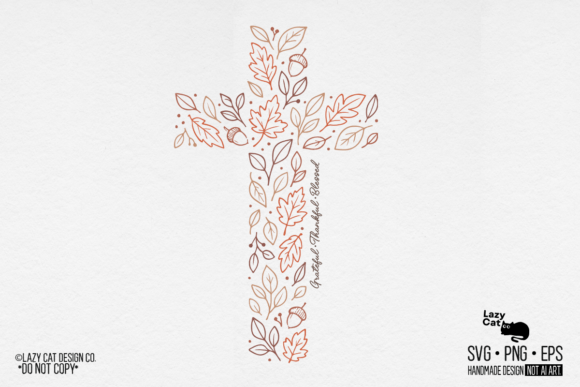
This single design, a small cross wrapped in falling leaves, ended up on the Sunday-school tote rather than a shirt. It is quiet and a little grown-up, which my niece thought made her seem older, so it was a hit for the wrong reasons and I will take it.
I cut it two-tone, leaves in burnt orange, cross in cream, on a natural canvas bag. The leaf shapes are forgiving to weed, no microscopic slivers.
Nitpick: the leaves overlap the cross arms in a couple of spots, so if you layer two vinyl colors you get a slight ridge where they stack. On a tote nobody notices. On a thin tee that ridge can catch in the wash, so press it down hard.
Matching Crew Shirts For The Whole Loud Table
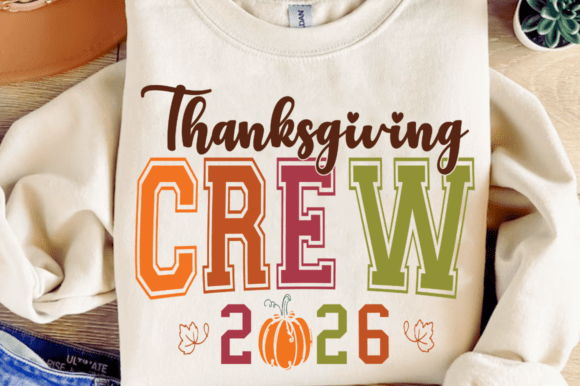
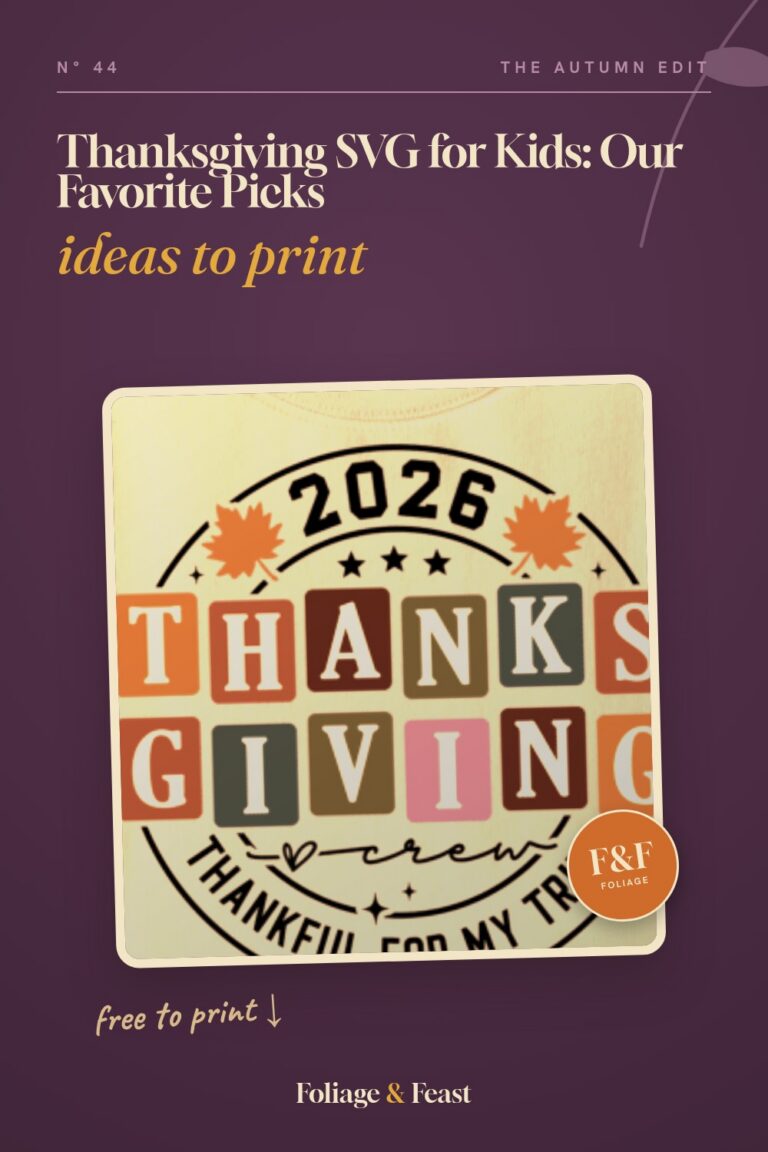
We did the kids first, then my sister got greedy and wanted the grown-ups to match for the family photo, so this dated family set saved the day. Same design, swappable year, one for each body at the table.
I cut the kid versions smaller and the adult versions bigger off the exact same file, pressed a stack of them in an afternoon, and the photo actually looked planned for once. Cream ink on rust shirts for everyone.
Nitpick: the year is baked into the layout, so if you are buying this to reuse next fall you are out of luck without editing. For a one-year photo it is great. For a forever shirt, pick a file without a date.
Hello Pumpkin, The Tote Everyone Asked About
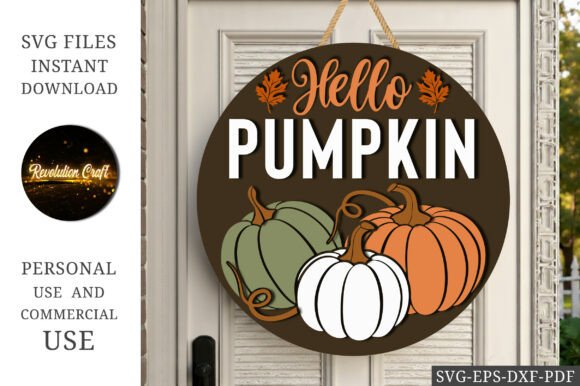
I closed out the day with this one on a tote for my sister to carry, and three school-pickup moms have asked where she got it. Friendly script, a little pumpkin, sized to fill the front of a bag without trying too hard.
I pressed it single-color in a deep pumpkin on a cream canvas tote, one layer, fast. This is the design that made the whole afternoon feel worth the iron burns.
Nitpick: drawn as a sign, the script has a long tail on the lettering that wants horizontal room. On a narrower kid tote it gets cramped, so I gave it the wide adult bag and let it stretch out.
Frequently Asked Questions
Can I print these at home?
Some yes, some no. The PNG copies in these bundles print fine on an inkjet for iron-on transfer paper, and that is how I did the watercolor-style faith design. The pure SVG cut files are not for printing, they are for a cutter to slice vinyl.
If all you have is a printer and an iron, look for the bundles that include a PNG and grab transfer paper. That route got two shirts done in my sister’s kitchen with no cutting machine at all.
What file formats do these designs come in?
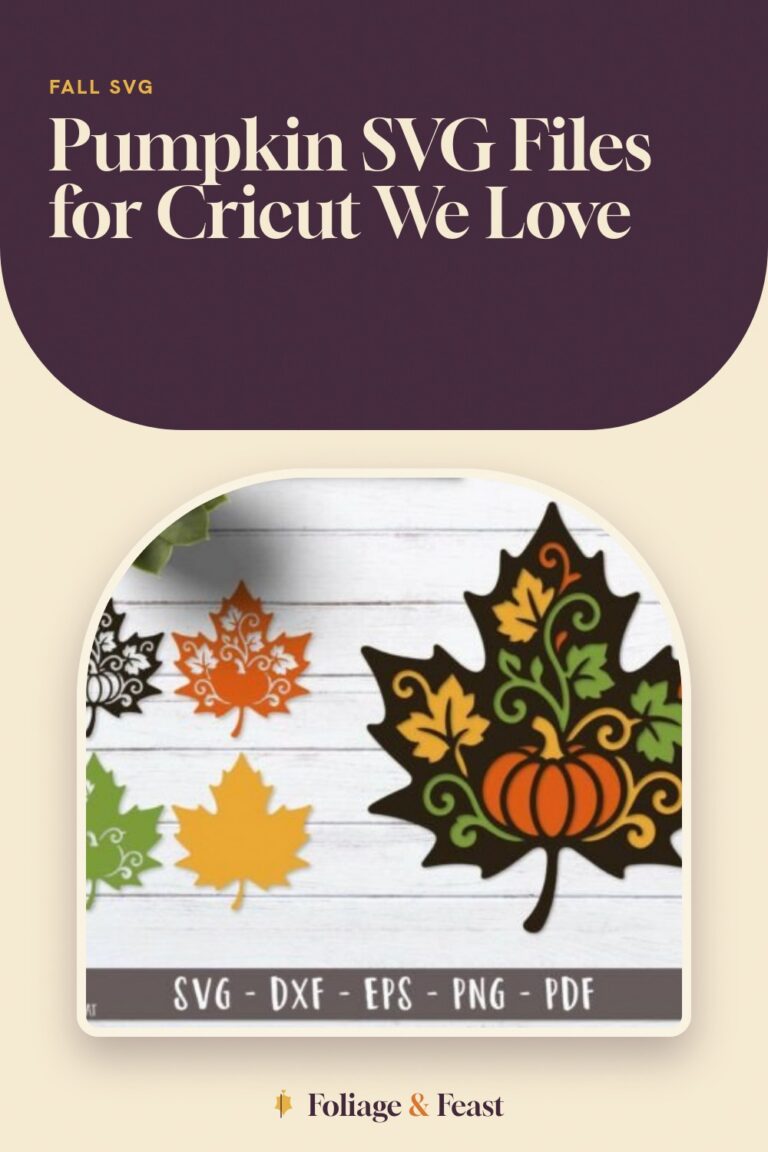
Most of these arrive as SVG for cutting, usually with PNG copies tucked in for the ones that have shading or a hand-drawn look. A few of the sign and laser bundles add DXF and EPS too.
Check the bundle listing before you buy. The bookish and faith sets gave me PNG escape hatches, which is exactly what saved me when I did not feel like cutting every thin line.
Do I need a Cricut or Silhouette to use these?
For the vinyl shirt and tote projects, yes, you need a cutter to weed and apply heat-transfer vinyl. I used a small home machine for everything above.
But if a bundle includes PNG files, you can skip the cutter entirely and press the design with printable transfer paper and an iron. That is the path for anyone who has not bought a machine yet.
Can I use these files for a small craft business?
Sometimes, and you have to read the license per design, because they vary. Some indie shops allow a limited number of finished items for sale, others are personal-use only.
Do not assume. Open the license that came with the download and look for a sell-finished-products clause and any quantity cap. If you plan to sell shirts at a fall market, confirm that line before you cut a batch.
Before You Print
The shirts are folded in my sister’s drawer now and the tote is already fraying a little at the handle from being overloaded with library books, which is how you know it gets used. The orange one, the loud one, is the kid’s favorite, of course.
If you only try one thing from this, let it be the re-press trick. Iron-on lifts at the corner, lay parchment over the top, go hotter, lean in for the full count. That one save turned a peeling mess into a shirt that outlasted three washes and a juice spill.